 Bellingham
 Why Birch Bay's Exposure Wears Out Siding Faster Than Inland Bellingham
Birch Bay sits right up against the water, and that changes what a wall has to survive year after year. A house a few miles inland in Bellingham deals with plenty of rain, but a house near the shoreline in Birch Bay deals with rain plus wind-driven salt spray, plus the kind of sustained dampness that keeps north- and west-facing walls from ever fully drying out between storms. Siding that would hold up fine in a drier, more sheltered part of Whatcom County can start showing problems years earlier here.
That's not a reason to avoid the area — it's just the reason siding choice and installation quality matter more in Birch Bay than they do in a lot of other neighborhoods we work in. The material has to tolerate salt, the installation has to manage water correctly, and the finish has to survive a moss season that runs longer here than it does a few miles east.
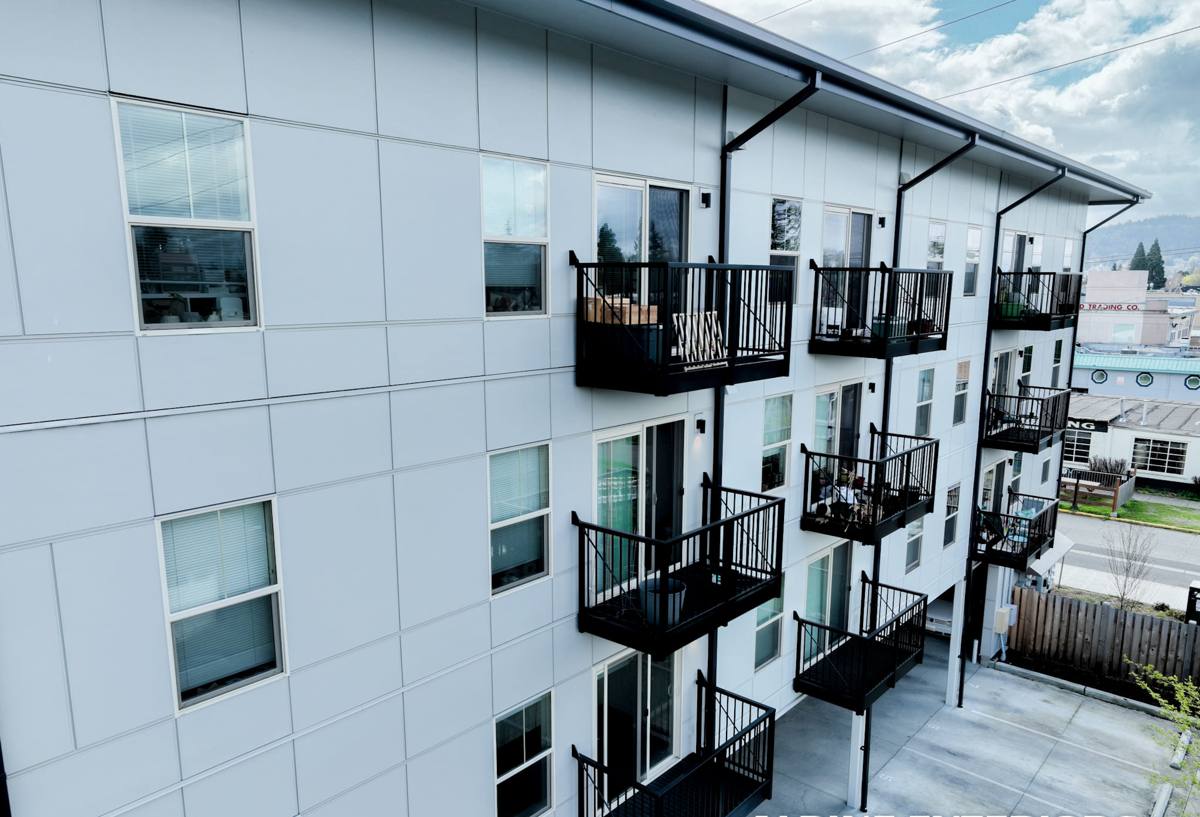
What Salt Air, Driving Rain, and a Long Moss Season Actually Do to a Wall
Salt Air
Airborne salt is corrosive to metal and hard on paint. Over time it accelerates fastener corrosion, breaks down cheaper factory coatings, and dulls paint faster than a UV-and-rain-only environment would. Any siding product with exposed fasteners, a thin factory finish, or metal trim that isn't corrosion-rated is going to show its age faster within a few blocks of the water.
Driving Rain
Storms coming off the water tend to push rain sideways into a wall instead of just down it. That means water gets forced into laps, seams, and any gap around a window or door that isn't properly flashed and sealed. A siding system that's only built to shed water straight down — rather than resist wind-driven water at every joint — is more likely to let moisture behind the cladding here than in a calmer inland location.
Moss and Sustained Dampness
Whatcom County's damp season already runs long; near the shoreline, morning fog and onshore moisture keep shaded and north-facing siding wet even longer. That's exactly the environment moss and mildew need. On wood-based or improperly sealed products, that sustained dampness is also what feeds rot at butt joints, corners, and anywhere caulking has failed.
Why We Install James Hardie Fiber Cement on Birch Bay Homes
We only install James Hardie fiber cement siding — we don't install vinyl, LP SmartSide, Cemplank, Allura, primed spruce, or cedar. That's a deliberate standard, not a lack of options, and it matters more in a climate like this one.
Non-Combustible and Dimensionally Stable
Fiber cement doesn't expand, contract, warp, or rot the way wood-based products can when they take on repeated moisture cycles. It's also non-combustible, which matters independent of climate but is a real, permanent advantage over wood and engineered-wood siding products.
ColorPlus Factory Finish
Hardie's ColorPlus finish is baked on at the factory in multiple coats, rather than field-applied like a typical paint job. In a salt-air environment, that finish holds its color and resists the fading and chalking that a standard field-applied paint job breaks down under faster. It's not maintenance-free forever, but it buys years compared to a repaint-dependent system.
Climate-Engineered HZ5 System
Hardie makes region-specific product formulations under its HZ (HardieZone) system, and the Pacific Northwest falls into the HZ5 moisture zone. HZ5 boards are engineered for higher-moisture climates like ours, which is a meaningfully different product than what gets shipped to a dry, low-humidity region. For a Birch Bay install, that's the correct product line — not a generic, one-size-fits-all board.
What a Correct Fiber Cement Install Involves in a Coastal Climate
Fiber cement is only as good as the installation behind it. In a high-exposure spot like Birch Bay, the details that get skipped on a rushed job are exactly the details that cause callbacks two or three winters later.
- A drainage gap (rainscreen) behind the siding so any water that does get past the cladding can drain and the wall can dry, instead of sitting against the sheathing
- Correct weather-resistive barrier installed and lapped properly before the first board goes up
- Metal flashing — including kick-out flashing at roof-to-wall intersections — sized and installed to direct water away from the structure, not just tucked in and caulked over
- Fastener spacing and placement per Hardie's published installation specs, not a generic "close enough" pattern
- Proper clearance between the bottom edge of the siding and grade, decks, patios, and roof lines, so the board isn't sitting in standing water or splash-back
- Correctly sized gaps at butt joints and trim, caulked with a product rated for the application — not painted-over gaps that look fine on install day and open up within a year
| Detail | Done Correctly | Common Shortcut & Its Risk |
|---|---|---|
| Drainage plane | Rainscreen gap behind siding, sheathing can dry | Siding installed tight to the wall — trapped moisture has nowhere to go |
| Roof-to-wall flashing | Kick-out flashing directs water into the gutter | Skipped or undersized — water runs behind the siding at the roofline |
| Fastener corrosion resistance | Corrosion-resistant fasteners set to spec | Standard fasteners that rust and streak the finish in salt air |
| Bottom clearance | Siding held above grade/hardscape per spec | Siding buried at grade — constant wicking and early rot at the base |
| Joint sealing | Rated sealant at proper joint width | Tight or unsealed joints that split open within a season or two |
Our Process for a Birch Bay Siding Job
The process is the same discipline we apply everywhere, with extra attention to the details above given the exposure:
- On-site assessment of the existing siding, sheathing, and any moisture or rot already present, with photos and a plain-language explanation of what we find
- Written scope and estimate before anything is torn off — no verbal "we'll figure it out as we go"
- Removal of the old siding and inspection of the sheathing underneath, with any damaged sheathing replaced before the new system goes on
- Weather-resistive barrier, rainscreen, and flashing installed to spec, checked before boards go up — this is the step that determines whether the siding performs for the next 30-plus years
- HZ5 Hardie board installation with correct fastening, clearances, and joint treatment
- Final walkthrough and punch list with the homeowner before we call the job done
- Warranty paperwork registered so the manufacturer's transferable warranty is actually on file, not just implied
Cost Factors for Fiber Cement Siding in Birch Bay
Every house is different, so we don't quote a number without seeing the job, but these are the variables that actually move the price:
| Factor | Why It Matters |
|---|---|
| House size and wall complexity | More square footage, more corners, dormers, and cutouts mean more labor and material |
| Condition of existing sheathing | Rot or damage found once old siding comes off adds repair work before new siding can go on |
| Siding profile and accessories | Lap width, trim details, and shingle-style accents cost more in labor than a plain lap job |
| Color and finish | Factory ColorPlus finishes vs. field-painted primed board affect both material cost and long-term maintenance |
| Access and site conditions | Tight lots, slopes, or limited staging area near the water can add time and equipment cost |
Maintaining Fiber Cement Siding in a Salt-Air, High-Moss Climate
Hardie siding installed correctly is low-maintenance, not no-maintenance. In a Birch Bay climate, a little seasonal attention goes a long way toward getting the full lifespan out of the product:
- Rinse the siding once or twice a year with a garden hose to clear salt residue and loosen early moss growth before it takes hold
- Keep gutters and downspouts clear so water isn't overflowing and running down the face of the siding
- Trim back shrubs and trees that keep any section of wall shaded and damp longer than the rest of the house
- Check caulking at trim, windows, and joints every year or two, and re-caulk any spot that's cracked or pulled away
- Have any impact damage or chipped finish touched up promptly so bare board isn't exposed to moisture
What to Ask Before Hiring a Birch Bay Siding Contractor
Coastal exposure is unforgiving of a bad install in a way a sheltered inland yard isn't. Before hiring anyone for a fiber cement job near the water, it's worth asking:
- Are you a certified or factory-trained Hardie installer, and can you explain your flashing and drainage plane details before the contract is signed?
- Do you install the HZ5 product line, or a generic Hardie spec not matched to this climate zone?
- What does your written warranty cover, separate from the manufacturer's warranty, and for how long?
- Will you inspect and repair sheathing found during tear-off, or is that treated as a change order surprise?
- Do you have recent experience installing on homes with direct water exposure, not just inland jobs?
Why Local Experience in Birch Bay Matters
A crew that mostly works drier, more sheltered parts of Whatcom County can still install Hardie siding competently — but they may not default to the extra flashing detail, the wider drainage gap, or the corrosion-resistant fasteners that a shoreline home actually needs unless they're used to building for that exposure. A crew that already works Birch Bay treats those details as standard practice, not an upsell, because they've seen what happens to a wall that skipped them.
That's the difference between siding that looks right on install day and siding that's still performing the way it should after a decade of salt air, driving rain, and moss season. We'd rather build it right the first time than get called back to fix it.
If you're planning a siding project in Birch Bay, we're happy to take a look at your home and walk you through what it actually needs — no pressure, no obligation. Reach out for a free estimate using the form below.