 Bellingham
 New-Construction Windows for an Edgemoor Build
If you're framing a new home or a major addition in Edgemoor, the windows you choose and how they get installed will matter more than almost any other exterior decision you make. Edgemoor sits close to Bellingham Bay, which means the homes here take a steadier dose of salt-laden air and wind-driven rain than lots a few miles inland. A window that's installed correctly on day one will handle that environment for decades. One that's installed with shortcuts will show it within a few winters — usually as a stain under the sill, a soft spot in the sheathing, or a draft that never quite goes away.
This page covers new-construction window installation specifically — meaning windows going into open framing before siding and interior finishes are in, not windows being swapped into an existing wall. It's a different job with different stakes, and it's worth understanding before your framer closes in the walls.
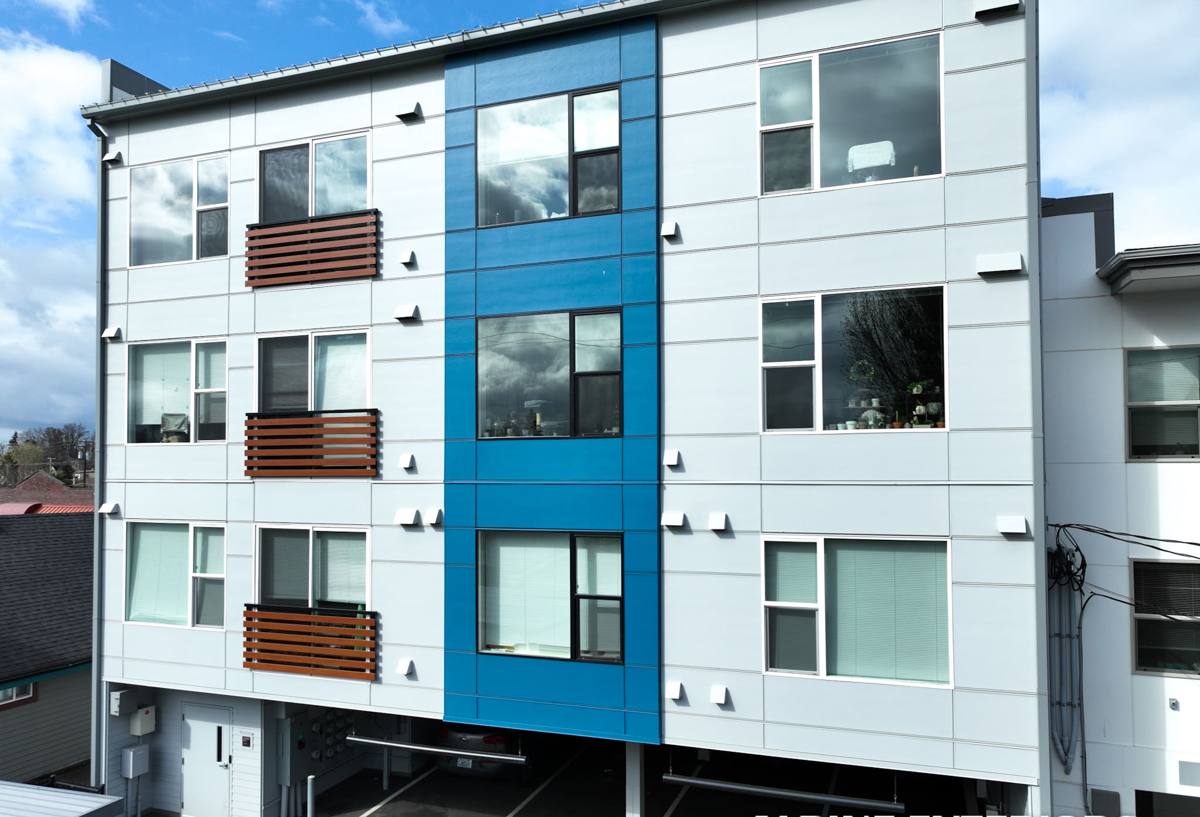
New-Construction vs. Replacement: Why the Distinction Matters
"New-construction" windows have a nailing fin (or flange) around the perimeter of the frame that gets fastened directly to the sheathing and integrated into the wall's water-resistive barrier before siding goes on. "Replacement" or "insert" windows have no nailing fin — they're built to slide into an existing window opening and get sealed at the perimeter instead of flashed into the wall assembly.
On a new build, using the wrong install method — or installing a nail-fin window without proper flashing sequencing — creates a hidden weak point behind the siding that won't show up until water starts finding it. Getting this right during framing is far cheaper and far more reliable than trying to fix it after the house is finished.
What This Means Practically
- Windows should go in after the weather-resistive barrier (housewrap or building paper) is up, but before siding starts
- Rough openings need to be sized, squared, and dried in before any window is set
- Flashing tape and sill pans are installed in a specific order — get the sequence wrong and you trap water instead of shedding it
- Every opening should be checked for level, plumb, and square before final fastening — not just "close enough"
What Edgemoor's Climate Demands from the Install
Edgemoor's proximity to the water shapes three things every builder here should plan around: salt air, driving rain, and a long moss season that runs most of the fall through spring in this part of Whatcom County.
Salt Air and Corrosion
Homes closer to Bellingham Bay see more airborne salt than those set back in town. Over time, this accelerates corrosion on unprotected fasteners, hinges, and hardware. It doesn't mean you need exotic materials for every window, but it does mean fastener selection and hardware finish matter more here than they would on a build in, say, the Sunnyland or Barkley area. We spec corrosion-resistant fasteners and flashing components as standard on Edgemoor jobs, not as an upcharge.
Driving Rain
Storms off the Strait of Georgia and Bellingham Bay tend to arrive with wind behind them, which pushes rain sideways into a wall rather than letting it run straight down. That's a much harder condition for a window opening to manage than a calm, vertical rain. It means head flashing, end dams, and sill pan drainage aren't optional details — they're the difference between a window that sheds wind-driven water and one that lets it track sideways under the trim.
Moss and Sustained Moisture
Bellingham's long wet season means anything that holds moisture against a wall — moss, algae, trapped debris in a sill pan — gets months to work, not days. A window opening with proper drainage and back-ventilated sill flashing sheds that moisture before it becomes a problem. One without it stays damp for weeks at a stretch, which is exactly the condition wood rot and mold need.
What a Correct Installation Involves
A proper new-construction window install is really a sequence of small details done in the right order. Skip one and the rest don't matter.
Flashing and Water Management
This starts with a sloped sill pan at the bottom of the rough opening so any water that gets past the window has somewhere to go besides the framing. Self-adhered flashing tape goes at the sill first, then up the jambs, then across the head — always shingled so upper layers overlap lower ones, never the reverse. The nailing fin gets taped into the weather-resistive barrier the same way, so the whole assembly sheds water downward and outward, not into the wall.
Setting and Fastening
The window gets shimmed and fastened without racking the frame — an out-of-square frame binds the sash, wears weatherstripping unevenly, and can void manufacturer warranties. Fasteners go where the manufacturer's instructions specify, at the spacing they specify. This isn't a place to save five minutes.
Sealant and Backer Rod
Sealant is the last line of defense, not the first — it should never be asked to do the flashing's job. Interior and exterior sealant joints get backer rod where the gap calls for it, and we use sealants rated for the temperature swings and UV exposure this area actually sees.
Window Product Considerations
Frame material is a real decision on a build this close to the water, not just a budget line. Here's how the common options compare for an Edgemoor application:
| Frame Material | Performance Near the Water | Maintenance | Typical Cost Position |
|---|---|---|---|
| Vinyl | Good weather resistance; won't corrode or rot | Low — occasional cleaning | Most affordable |
| Fiberglass | Excellent — stable in temperature swings, resists warping | Low | Mid to upper-mid |
| Wood-clad | Good if cladding and flashing details are correct; interior wood needs protection from condensation | Moderate — exterior clad is low, but seal failures expose wood | Highest |
| Aluminum | Prone to condensation and, without a thermal break, more susceptible to corrosion near salt air | Moderate | Varies widely |
We don't push one brand over another — the right call depends on your budget, your design, and how the window ties into the rest of the exterior. What we do insist on is a nailing fin design compatible with proper flashing, and hardware and fasteners rated for this environment. A well-installed mid-range window will outperform a premium window installed carelessly, every time.
Our Process on an Edgemoor Build
Before Windows Arrive
We walk the rough openings once framing is up and the weather-resistive barrier is on, checking that every opening is sized correctly, square, and flashed at the sill before a single window goes in. Catching a framing issue now costs a phone call. Catching it after siding is on costs a lot more.
Install Day
Windows are set, shimmed, fastened, and flashed in sequence — one opening fully finished before moving to the next, rather than setting every window loosely and coming back to detail them later. That approach is where corners get cut on a rushed schedule, and it's not how we run a job.
Coordination With Your Build Schedule
New-construction window install has to slot into the broader build timeline — after dry-in, before siding. We coordinate directly with your general contractor or framer on timing so the sequence isn't rushed or held up waiting on us.
Questions Worth Asking Before You Sign a Contract
Whether you hire us or another crew for this work, these are the questions that tell you whether the installer actually understands water management, not just carpentry:
- Do you install sloped sill pans, or just caulk the sill and set the window?
- What flashing tape or membrane do you use, and in what order does it get applied?
- How do you fasten the nailing fin, and does that match the window manufacturer's instructions?
- Will you check every opening for square before final fastening?
- What happens if a rough opening is out of tolerance — do you flag it before install or work around it?
- Do you warranty the installation separately from the manufacturer's product warranty?
If a contractor can't answer these clearly, that's worth noting before framing closes up around their work.
Why a Crew That Already Works Edgemoor Matters
Window installation done to a generic standard and window installation done for this specific stretch of Bellingham are not quite the same job. A crew that's worked Edgemoor and the surrounding Bellingham Bay-facing neighborhoods already knows which walls take the worst of the driving rain, which fastener finishes actually hold up under sustained salt exposure, and how long the moss season really runs in Whatcom County versus what a spec sheet assumes. That local pattern recognition doesn't replace following the manufacturer's instructions and good flashing practice — it just means fewer surprises and fewer callbacks once the house is finished and lived in.
After Move-In: Keeping New Windows Performing
A correctly installed window is close to maintenance-free, but a few habits extend its life in this climate:
- Keep weep holes and sill drainage paths clear of dirt, moss, and debris, especially heading into fall
- Rinse accumulated salt film off exterior frames and hardware a couple times a year, particularly on water-facing elevations
- Check exterior sealant joints annually for cracking or separation and have them touched up before they fail
- Watch for condensation buildup on interior glass in winter — persistent condensation can signal a ventilation issue worth addressing early
If you're planning a new build or addition in Edgemoor and want windows installed right the first time, we're happy to walk your plans or framed openings and give you a straightforward, no-pressure estimate. There's a form below — reach out and we'll get you scheduled.