 Bellingham
 What a Siding Installation Actually Needs to Do in Lynden
Installing siding in Lynden isn't the same job as installing siding in a dry, inland climate, even though the materials and tools look identical on a supply list. Whatcom County homes deal with a specific combination of stress: salt-tinged air moving in off the water, rain that drives sideways into wall assemblies instead of falling straight down, and a moss season that can run most months of the year on shaded, north-facing walls. A siding installation that ignores any one of those conditions can look correct on the day it's finished and still fail early — not because the material was wrong, but because the installation didn't account for how this specific climate behaves.
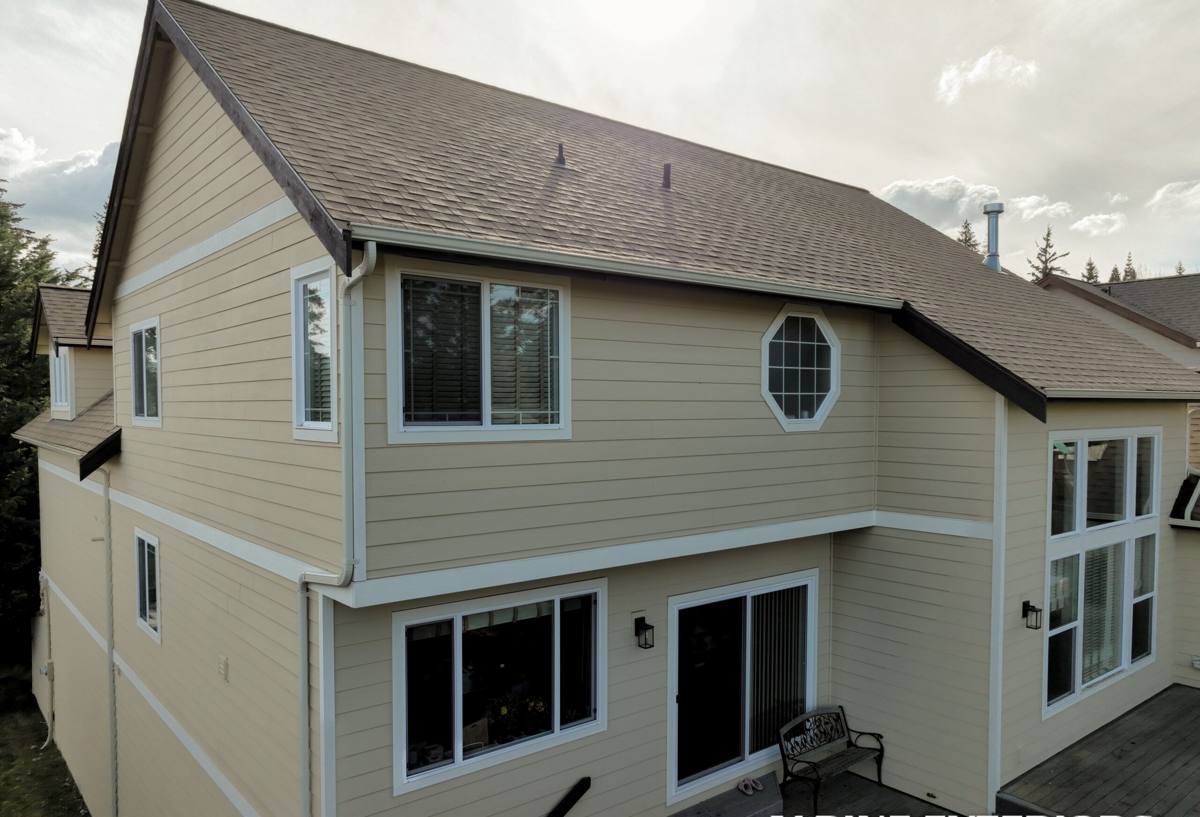
This page is about the installation itself: what correct prep, flashing, fastening, and finishing work actually looks like on a Lynden home, and why the installation matters as much as the product choice. We install James Hardie fiber cement exclusively, and everything below assumes that system, since that's the only one we put our name on.
Why Installation Quality Matters More Here Than in a Mild Climate
Fiber cement siding is a durable product, but it's not a "set it and forget it" material where installation shortcuts go unnoticed. In a wet, salt-influenced climate like Lynden's, small installation errors compound faster than they would somewhere drier. A gap in the weather-resistive barrier, a fastener driven too high or too low, or a missing piece of flashing at a window head might not show a problem in year one. By year four or five, with repeated wind-driven rain events and a long damp season every year, those same errors turn into trapped moisture, soft sheathing, or streaking and staining that no amount of caulk will permanently fix.
That's the real argument for installation quality: the product is only as good as the assembly it's part of. Hardie engineers its HZ5 product line for exactly this kind of moisture and freeze-thaw exposure, but that engineering only pays off if the crew installing it follows the manufacturer's spec on clearances, fastening, and flashing rather than treating it like a faster version of an older product.
What a Correct Installation Involves
Tear-Off and Substrate Inspection
Before any new siding goes up, the existing cladding comes off and the sheathing underneath gets inspected. This is the step that gets skipped or rushed on lower-bid jobs, and it's the most important one. Rotted sheathing, old moisture damage, or improperly installed windows and flashing from a previous job need to be found and corrected now — not sealed over and hoped away. In a climate where hidden moisture problems are common on older homes, this inspection step is where a lot of future callbacks get prevented.
Weather-Resistive Barrier
A continuous, properly lapped weather-resistive barrier goes over the sheathing before any siding is hung. Laps need to shed water downward at every seam, and penetrations for pipes, vents, and fixtures need to be sealed back into the barrier rather than left as gaps. This layer is the actual water management system of the wall — the siding sheds most of the water, but the barrier behind it is what handles whatever gets past the cladding, which in a driving-rain climate is not a rare event.
Flashing at Windows, Doors, and Transitions
Every window, door, roof-to-wall transition, and deck ledger is a place where water wants to find a way in. Correct flashing integrates with the weather-resistive barrier in the right shingle-lap order so water is always directed outward and downward, never trapped behind the siding. This is detail work that takes time and can't be rushed without creating exactly the kind of leak points that show up as staining or soft trim a few years later.
Fastening to Manufacturer Spec
James Hardie publishes specific fastening requirements — nail type, spacing, and placement relative to the plank edge — and those requirements exist for a reason. Fasteners placed too close to an edge or driven at the wrong angle can crack the board over time or fail to hold it securely through temperature and moisture cycling. Following the spec isn't optional detail work; it's the difference between a wall system rated for decades and one that starts loosening or cracking early.
Clearances and Gaps
Hardie siding needs specific clearance from the ground, roof lines, decks, and other transitions to allow drainage and prevent wicking moisture into the bottom edge of the boards. Installers who don't respect those clearances create a slow, chronic moisture problem at the base of the wall that's easy to avoid at installation and expensive to fix afterward.
Caulking and Finish Work
Joints and seams get sealed with a caulk rated for the movement and moisture conditions of this climate, applied in the right places — not everywhere, since over-caulking can trap moisture instead of shedding it. Factory-primed cut edges get field-treated with the correct sealant so the ColorPlus finish's protection isn't compromised at the cuts, which is one of the most commonly skipped steps on rushed jobs.
Why We Install Only James Hardie Siding
We don't install LP SmartSide, vinyl siding, Cemplank, Allura, primed spruce, or cedar. That's a professional standard, not a sales pitch, and it comes from what we've seen on service calls and tear-offs in this exact climate over the years.
- Non-combustible fiber cement core: It doesn't feed a fire the way wood-based products can, which matters for both safety and insurance considerations.
- Factory-applied ColorPlus finish: The color and protective coating are baked on in a controlled factory process, which holds up far longer against fading and moisture than field-applied paint on wood-based sidings.
- Climate-engineered HZ5 formulation: Built specifically for regions with high moisture exposure and freeze-thaw cycling, which describes Whatcom County well.
- Dimensional stability: Fiber cement doesn't swell, cup, or warp the way engineered wood products can when they take on repeated moisture over a wet season.
- Strong transferable warranty: Backed by Hardie, provided the installation follows their published spec — which is exactly why installation quality and product choice have to be discussed together, not separately.
Each of the products we don't install has a legitimate place in the market and homeowners who are satisfied with them. We've simply made the call that in a climate with this much sustained moisture and salt exposure, we'd rather stand fully behind one system than offer a cheaper alternative that shifts more long-term maintenance risk onto the homeowner.
How Our Installation Process Runs
- On-site assessment: We walk the home, check the existing siding and substrate condition, and identify problem areas like moss buildup, staining, or soft trim before quoting the job.
- Written scope and estimate: You get a clear breakdown of what's included — tear-off, sheathing repair if needed, weather barrier, flashing, siding, and trim — so there's no ambiguity about what's covered.
- Tear-off and inspection: Old siding comes off, and any sheathing or framing issues get flagged and addressed before we move forward.
- Weather barrier and flashing installation: The water management layer goes on first, correctly lapped and integrated at every window, door, and transition.
- Siding installation to spec: Hardie boards go up with correct fastening, clearances, and joint treatment.
- Final detailing and walkthrough: Caulking, trim, and touch-up work get finished, and we walk the finished job with you before calling it done.
Why Hiring a Crew That Already Works in Lynden Matters
A siding installer who mainly works in a different climate — drier, milder, or less exposed to wind-driven rain — can still know the general mechanics of hanging fiber cement siding and still miss the details that matter specifically here. A crew that regularly works Lynden and the surrounding parts of Whatcom County has already seen how driving rain finds the weak points in a wall assembly, where moss tends to establish itself first, and how salt air affects fastener and trim choices over time. That kind of familiarity isn't something you can fully substitute with a generic installation manual, no matter how good the manual is.
It also means a shorter feedback loop if something needs attention after the job is done. A crew based in the region can respond to a callback quickly, rather than a homeowner waiting on a company that has to schedule a special trip back into the area.
Typical Project Timeline
Most single-family siding installations in this area run from a few days to a couple of weeks of active work, depending on the size of the home, the amount of tear-off and substrate repair needed, and weather windows during the wetter months. Whatcom County's rain patterns mean scheduling has to account for dry-work windows, especially for the tear-off and weather-barrier stages, since those steps need dry conditions to do correctly. A rushed installation that ignores weather windows to hit a deadline is one of the more common ways moisture gets trapped behind new siding before it's even finished.
Cost Factors for a Lynden Siding Installation
| Factor | What Drives It | Climate-Specific Consideration |
|---|---|---|
| Tear-off scope | Amount and type of existing siding, number of layers | Older homes here often have hidden moisture damage under original siding that adds to the scope once uncovered |
| Sheathing repair | Condition of the substrate once old siding is removed | Sustained moisture exposure over decades makes repair more likely than in a drier climate |
| Home size and complexity | Square footage, number of corners, dormers, and transitions | More transitions mean more flashing detail work, which takes longer to do correctly |
| Trim and accessory choices | Trim profile, corner treatment, accent details | Trim and fastener hardware need to hold up to salt-air corrosion over time |
| Access and site conditions | Landscaping, multi-story sections, driveway access | Not climate-specific, but affects labor time and equipment needs on any Lynden lot |
Signs Your Current Siding Needs Attention Before It Gets Worse
- Soft or spongy spots when you press on the siding, especially near the bottom edge or below windows
- Persistent moss or dark streaking on shaded, north-facing walls that keeps coming back after cleaning
- Visible gaps, cracking, or warping at seams and corners
- Peeling or bubbling paint on wood-based or engineered wood siding
- Staining below windows or roof-to-wall transitions that suggests water is tracking down from a flashing failure
- Fasteners that are rusting, backing out, or leaving streaks down the face of the siding
None of these on their own mean a full replacement is required, but they're worth having looked at before a wet season makes them worse. Catching a flashing or moisture issue early is almost always cheaper than waiting for it to spread into the sheathing.
If you're weighing a siding installation in Lynden, we're happy to take a look at your home, walk through what we're seeing, and put together a clear, no-pressure estimate. There's a form below to get that conversation started.