 Bellingham
 Building New in Puget Means Building for Puget Sound Weather
If you're framing a new home or an addition in the Puget area outside Bellingham, the windows are one of the few components that have to perform correctly on day one and keep performing for decades without anyone opening up the wall to check on them. Whatcom County sits right where marine air, wind-driven rain off the Sound, and a long wet season all overlap. A window that's a good product but installed a half-step wrong will let water find its way behind the siding eventually — usually years later, after the drywall's painted and the finish carpentry is done. New construction is the one point in the build where getting it exactly right costs almost nothing extra. Getting it wrong costs a torn-open wall.
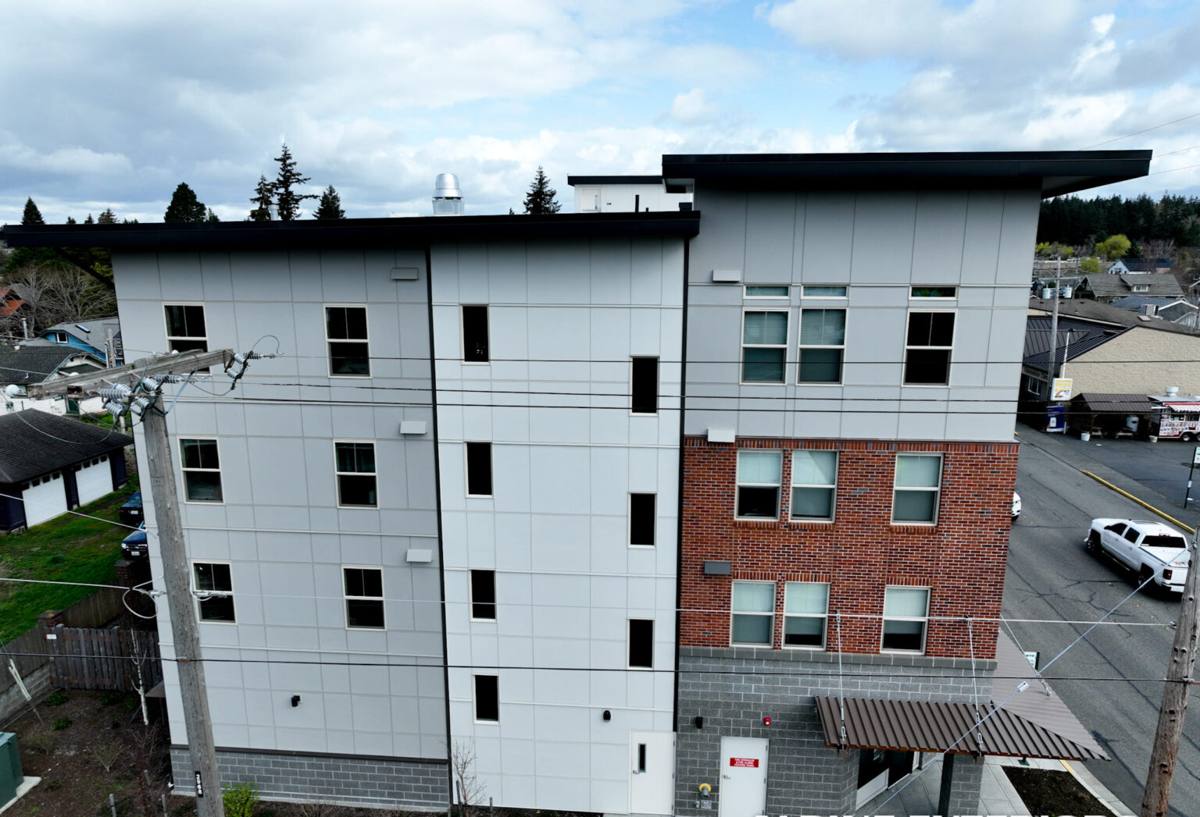
What "New-Construction Window" Actually Means
The term isn't marketing — it describes a specific type of window and a specific installation method, different from replacing a window in an existing wall.
Nail-Fin (Flange) Windows
Most new-construction windows have a nailing flange around the perimeter of the frame. That flange gets integrated directly into the weather-resistive barrier (WRB) and flashing system before siding goes on. This is the standard approach for framed openings that don't have siding or trim around them yet, which describes almost every new build or addition.
Block-Frame / Retrofit Windows
These have no nailing flange and are designed to be inserted into an existing, already-clad opening — the typical approach for replacing a window in a finished house without disturbing the siding. Using a retrofit window on new construction skips the flange-to-WRB integration that's supposed to carry water outward, and using a nail-fin window on a remodel-in-place job usually means tearing out siding you didn't need to touch. Matching the window type to the stage of construction is the first decision, and it's one we make with the builder or homeowner before ordering anything.
What Bellingham's Climate Actually Demands From a New Install
None of what follows is exotic — it's just what happens when you build this close to the water, this far north, with this much annual rainfall.
Salt Air and Corrosion
Homes anywhere near Puget Sound get some amount of salt-laden air, especially with onshore wind. Over years, that air is hard on unprotected fasteners, cheap hinge hardware, and low-grade cladding on window frames. It doesn't ruin a window in one season, but it does separate windows that were spec'd for coastal exposure from windows that weren't.
Driving Rain
Rain in this region doesn't just fall — wind pushes it sideways into wall assemblies, especially on west- and southwest-facing elevations that catch storms coming off the water. A window opening has to be flashed so that any water that gets past the window itself is directed back out, not trapped in the wall cavity. This is a installation detail, not a product feature — it will fail or succeed based on how the crew laps the flashing and WRB, regardless of how good the window itself is.
Moss Season
Whatcom County's long stretch of gray, damp months means anything organic — wood trim, cheap caulk, unfinished sill material — stays wet for extended periods and starts hosting moss and algae growth. Around windows specifically, this shows up as staining and eventual softening at the sill and bottom corners of trim if the water management underneath isn't doing its job. A correctly flashed window sheds that moisture before it has a chance to sit.
Getting the Water Management Right, in the Right Order
This is the part of the job that doesn't show once the siding's on, and it's the part that matters most. On every new-construction window we install, the sequence goes:
- Rough opening checked for square, level, and correct dimensions before the window ever arrives on site.
- Sill pan flashing installed first, sloped slightly to the exterior, so any water that reaches the sill has somewhere to go.
- Window set, shimmed at the manufacturer's specified points (not just at the corners), and fastened through the flange on the schedule the manufacturer requires — this is a warranty condition, not a preference.
- Jamb and head flashing installed in proper shingle-lap order — each layer overlapping the one below it — so water is always directed down and out, never into a seam.
- WRB integrated over the top flashing and taped, restoring a continuous drainage plane across the whole wall.
- Sealant applied only where the manufacturer specifies it, and only compatible sealants used against the window's frame material.
Skip the sill pan, staple through the flange instead of following the fastening pattern, or seal the bottom of the window solid (trapping any water that does get in), and you've built a slow leak into a brand-new wall. None of these fixes cost more time than doing it wrong — they just require knowing the order and not skipping steps under schedule pressure.
Choosing the Right Frame and Glass for This Location
There's no single "best" window — there's a best fit for the exposure, budget, and maintenance appetite of the specific build. Here's how the common frame materials compare for a Puget-area new-construction job:
| Frame Material | Salt Air / Moisture Behavior | Maintenance | Relative Cost |
|---|---|---|---|
| Vinyl | Won't corrode or rot; performs well in wet, salt-influenced air | Low — rinse occasionally, no painting | Lowest |
| Fiberglass | Very stable, minimal expansion/contraction; excellent in coastal exposure | Low | Mid to high |
| Wood-Clad | Exterior cladding protects the wood, but any breach at joints or cladding damage exposes wood to rot in a wet climate | Higher — watch cladding seams and any exposed wood | Highest |
| Aluminum (uninsulated) | Conducts cold and can corrode over time without proper coatings | Moderate | Low to mid |
For most new builds in this area, we steer clients toward vinyl or fiberglass for the exterior-facing performance, and reserve wood-clad for situations where the look is the priority and the owner understands the added upkeep. On glass, a dual-pane, Low-E, argon-filled unit with a U-factor and solar heat gain coefficient suited to a marine, heating-dominated climate is the standard baseline here — triple-pane makes sense on north-facing rooms or homes prioritizing energy performance, but it's a cost-and-benefit conversation, not an automatic upgrade.
Our New-Construction Window Process
On a new build or addition, we work off the framer's schedule rather than the other way around:
- Plan review and product selection — we confirm window sizes, egress requirements, and glazing spec against the plans before anything is ordered.
- Rough opening verification — every opening gets checked on site once framing is done, before windows ship, so there are no surprises at install.
- Coordination with the builder or GC — windows go in at the right point in the sequence: after the WRB is on, before siding starts.
- Installation — sill pan, window, flashing, WRB integration, and sealant, in that order, on every opening.
- Walkthrough — we go over the finished install with the builder or homeowner, including how the windows operate and what warranty coverage applies.
Mistakes We See on New Builds in This Area
Most window problems that show up years later on new construction trace back to a handful of shortcuts:
- Skipping the sill pan and relying on caulk alone to keep water out of the sill
- Fastening through the flange with the wrong fastener spacing, leaving gaps the manufacturer's warranty doesn't cover
- Taping the WRB over the flashing in the wrong order, sending water into the seam instead of over it
- Using a sealant that isn't compatible with the window frame's material, which can fail or even damage the frame finish
- Installing windows before the WRB is fully run, then trying to patch the barrier around the frame afterward
Every one of these is avoidable. None of them require expensive materials to fix — just the discipline to follow the sequence on every opening, every time, even on the openings that are hard to reach or behind schedule.
Why a Crew That Already Works Puget Matters
A window installed correctly in a dry, inland climate can still fail here if the crew doesn't account for the wind-driven rain and prolonged damp season this area gets. Local experience means knowing which elevations on a Puget-area lot are going to take the worst of a Sound storm, how much lap and overlap the flashing needs given how much rain this area actually sees, and how local building departments here expect water management details to be documented at inspection. It also means we're already familiar with the framers, GCs, and building officials working in Whatcom County, which keeps a new-construction schedule moving instead of stalling on window coordination.
New-Construction Window Installation Checklist
Whether you're a homeowner keeping an eye on your own build or a builder bringing in a window crew, this is what should happen on every opening:
- Rough opening measured and checked for square before windows are ordered
- Correct window type specified — nail-fin for new construction, not a retrofit unit
- Sill pan flashing installed and sloped to drain outward
- Window shimmed and fastened per the manufacturer's exact schedule
- Jamb and head flashing lapped in the correct shingle order
- WRB taped back over the top flange, restoring a continuous drainage plane
- Sealant used only where specified, and compatible with the frame material
- Egress and code requirements confirmed for bedroom and basement openings
If you're building new or adding on in the Puget area near Bellingham and want windows installed the way this climate actually requires, we're glad to walk the plans with you. Reach out for a free, no-pressure estimate using the form below.