 Bellingham
 Window Installation Built for Puget's Marine Climate
Homes in the Puget area near Bellingham sit close enough to the water that window performance is never just about energy bills. Salt air works on aluminum hardware and steel fasteners in ways inland homes never experience. Driving rain off the Sound doesn't fall straight down — it comes in sideways under wind pressure, finding any gap in flashing or sealant that a lazier install left behind. And Whatcom County's long, wet moss season means anything that stays damp for weeks at a time becomes a growth surface, including window sills, frame corners, and the trim around them.
A window that's correctly installed handles all three of those conditions without much thought from the homeowner. A window that's installed to a lower standard — even a good window, installed poorly — will show it within a few winters: fogged glass, soft sills, stuck sashes, or a slow drip somewhere nobody can quite locate. This page is about what a proper window installation looks like for a Puget-area home specifically, not a generic checklist that ignores where you actually live.
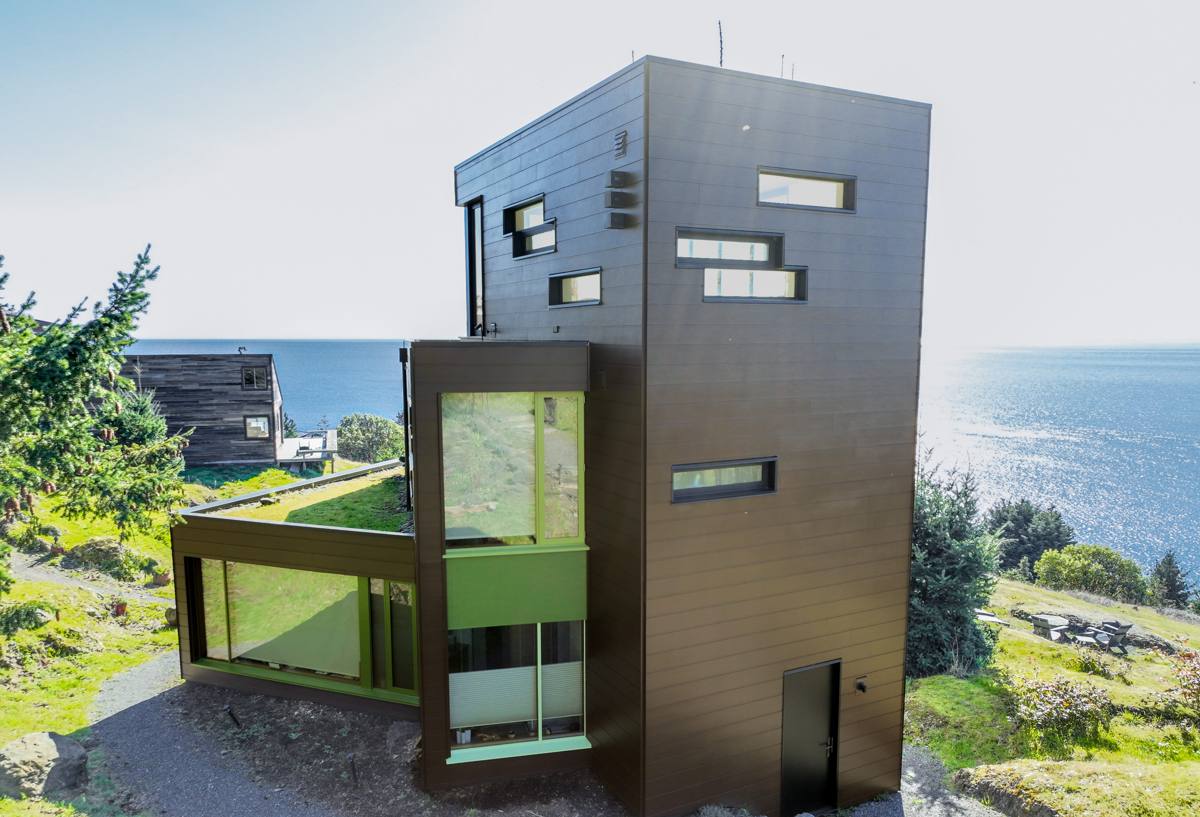
Signs a Puget-Area Home Needs New Windows or a Reinstall
Not every problem window needs full replacement — sometimes the window itself is fine and the installation around it has failed. Either way, these are the signals worth acting on before they turn into structural repair:
- Fog or moisture trapped between panes on double- or triple-glazed windows — the seal has failed and the glass unit needs replacing
- Visible gaps, cracked caulk, or daylight around the frame where it meets the siding
- Soft, discolored, or spongy wood at the sill or bottom corners of the frame — a sign moisture has been sitting there
- Windows that are hard to open, close, or lock, especially after they've swelled with damp weather
- A cold draft at the frame even when the window is fully latched
- Green or black growth on the sill, trim, or lower corners that keeps coming back after cleaning
Any one of these on its own might be minor. Several at once, especially on a west- or south-facing wall that takes the brunt of storms coming off the water, usually points to a flashing or sealant failure that a new coat of caulk won't fix.
Why Puget Homes See These Problems Sooner
The same window, installed the same way, will generally last longer in a dry inland climate than it will here. Wind-driven rain pushes water into places gravity alone wouldn't reach, and the near-constant humidity through fall and winter means anything that gets wet stays wet longer before it has a chance to dry out. That's the entire reason installation quality matters more here than the brand name on the window.
What a Correct Window Installation Actually Involves
Setting a window into a rough opening looks simple from the outside. Doing it in a way that holds up to years of Puget Sound weather involves several steps that aren't visible once the trim goes back on:
Moisture Management First
Before the window ever goes in, the rough opening needs a properly lapped weather-resistive barrier and sill pan flashing that directs any water that gets past the window back out — not into the wall cavity. This is the step that gets skipped or rushed most often, and it's also the step that determines whether you have a dry wall in ten years or a rot problem behind the drywall that nobody notices until it's expensive.
Air Sealing and Insulation
The gap between the window frame and the rough opening needs to be filled with the right material — not stuffed with excess fiberglass, which can hold moisture, and not left with foam that expands hard enough to bow the frame and throw off the window's operation. Low-expansion foam or backer rod and sealant, applied correctly, keeps the window both airtight and able to operate smoothly.
Flashing Tie-In With the Siding
The window's flashing has to integrate with whatever siding is on the wall, whether that's fiber cement, vinyl, or wood. Where the window meets the siding is one of the most common leak points on any home, and it's also the point where a general handyman install and a proper trade install look most different. This is also where hiring a siding contractor for window work has a real advantage — the flashing and the siding are one continuous water management system, not two separate jobs done by two different companies who never talk to each other.
Level, Plumb, and Square
A window that isn't shimmed level and square will bind, won't lock properly, and puts uneven stress on the glass unit over time. This is basic craftsmanship, but it's worth stating because it's the difference between a window that operates smoothly for twenty years and one that starts sticking after two winters of humidity swelling the frame.
Window Material Options for a Salt-Air, High-Moisture Climate
There's no single "best" window material — the right choice depends on your budget, your home's style, and how much maintenance you're willing to keep up with. Here's how the common options actually perform in this climate:
| Material | Salt Air / Corrosion Resistance | Moisture Behavior | Maintenance | Typical Cost Position |
|---|---|---|---|---|
| Vinyl | Good — won't corrode or pit | Doesn't absorb water; won't rot | Low — occasional cleaning | Lower |
| Fiberglass | Very good — stable in temperature swings and salt exposure | Doesn't absorb water or warp | Low | Mid to upper |
| Aluminum | Poor without a quality finish — prone to pitting and corrosion near the Sound | Conducts cold; can condensate more | Moderate — finish needs monitoring | Lower to mid |
| Wood / wood-clad | Depends entirely on cladding and finish upkeep | Vulnerable if finish fails; needs prompt attention | Higher — regular finish maintenance | Upper |
Our standard recommendation for homes in this area leans toward vinyl or fiberglass for most budgets, simply because they don't give salt air or standing moisture anything to work with. Wood-clad windows can be the right call for a period-appropriate look, but we'll be direct about the maintenance commitment that comes with them before you commit to that route — a finish failure on a wood window near the water gets expensive fast if it's not caught early.
Our Window Installation Process
- Walkthrough and assessment — we look at each window opening, the surrounding siding and trim, and check for any existing moisture or rot before quoting the job.
- Product selection — we go over material, glass package, and hardware options suited to your exposure, not a one-size-fits-all recommendation.
- Removal — old windows come out carefully, and we inspect the rough opening for hidden damage before anything new goes back in.
- Flashing and moisture barrier work — sill pan flashing and weather-resistive barrier integration happen before the window is set, tied properly into the existing siding.
- Setting and sealing — the window is shimmed level and square, insulated correctly, and sealed with the right materials for this climate.
- Trim and finish — interior and exterior trim is reinstalled or replaced, and the siding tie-in is finished so water sheds away from the opening.
- Final check and cleanup — every window is tested for smooth operation and a tight seal before we call the job done.
Cost Factors for Window Installation in Puget
Every home is different, so we won't quote a number without seeing the actual openings, but these are the factors that move the price up or down:
| Factor | Why It Matters |
|---|---|
| Number and size of windows | More openings and larger units mean more labor and material |
| Material chosen | Vinyl, fiberglass, aluminum, and wood-clad carry different unit costs |
| Condition of the rough opening | Rot or water damage found during removal adds repair work before the new window can go in |
| Siding tie-in complexity | Flashing that has to integrate with existing siding takes more time than a simple frame swap |
| Access and height | Second-story or hard-to-reach windows require more setup time |
| Glass package | Low-E coatings and gas fills add cost but improve comfort and condensation resistance |
As a broad range, straightforward window replacements typically run from a few hundred to a couple thousand dollars per window depending on size and material, with larger or structurally involved openings costing more. The only way to get an accurate number is a walkthrough — we're not going to guess over the phone and hand you a number we can't stand behind.
Why a Crew That Already Works Puget Matters
Window installation isn't a specialty that changes much from town to town in the abstract — the physics of flashing and sealing are the same everywhere. What changes is how aggressively the local climate tests a bad install. A crew that works Puget and the broader Bellingham area regularly has already seen which details actually matter here: how far wind-driven rain can travel under a poorly lapped flashing, how fast moss establishes itself on a sill that doesn't shed water properly, and how salt-laden air near the Sound shortens the life of cheap hardware.
Because we're also a siding contractor, window installation isn't handled as an isolated job disconnected from the rest of the wall. The flashing, the weather barrier, and the siding around each window are treated as one continuous system, which is exactly how they need to work to actually keep water out.
Choosing a Window Installer: A Homeowner's Checklist
- Ask to see current Washington contractor registration and proof of liability insurance
- Ask specifically how they handle sill pan flashing and weather barrier tie-in — not just "we seal it up"
- Confirm whether the crew quoting the job is the crew doing the work
- Ask what happens if they find rot or water damage once the old window is out
- Get the warranty terms in writing — both the manufacturer's product warranty and the installer's labor warranty
- Ask about cleanup and how window openings are protected if weather turns mid-project
Maintaining New Windows in a Coastal, Mossy Climate
A correctly installed window still benefits from a little seasonal attention in this climate. Rinsing salt residue off frames and glass a few times a year keeps it from concentrating on hardware and finishes. Checking that weep holes on vinyl and fiberglass frames stay clear of debris and moss buildup keeps the window's own drainage system doing its job. And a quick look at exterior caulking each fall, before the wet season sets in, catches small cracks while they're still a five-minute fix instead of a moisture problem behind the trim.
None of this is complicated, but it's worth doing precisely because Puget's climate doesn't give a home much of a break between wet seasons to dry out and self-correct minor issues.
If your windows in Puget are drafty, fogged, hard to operate, or original to a home you're not sure about, we're happy to take a look and give you a straightforward, no-pressure estimate — just fill out the form below to get started.